My Practice as a Linocut Artist in a Nutshell
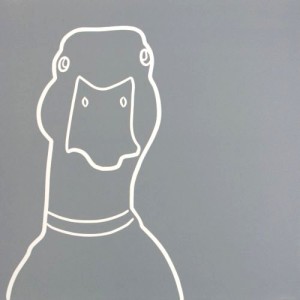 Many of you will have made linocuts at school and will know about them. For those of you who don’t, linocuts start with a piece of lino. Not any old lino but lino bought from an artists’ material shop. Having bought my lino, I transfer my sketch or drawing onto the lino using the good old-fashioned tracing method. I then cut my drawn lines out of the lino using my newly-sharpened gouges. This is intense, the line needs to be smooth so pressure and speed are key. There may be happy accidents but any serious errors and I need to start again. If all goes well, my lino has now become a linocut.
I then take my linocut to Artichoke studios in Brixton, London, where I print it. First the printing ink colour to be used is decided upon and mixed. For this I work closely with professional printmaker Megan Fishpool. The oil-based ink is then rolled out onto a flat surface using a polyurethane roller. Once it is even, it is rolled onto the surface of the linocut. This is a skillful process, the ink is sticky and needs to be rolled smoothly and with the same pressure throughout; any lumps and bumps and the print will not work out. It is now time to print my linocut. A sheet of quality paper is carefully laid over the inked-up linocut and it is rolled under the heavy press roller of the printing press.
The magical moment of removing the paper has now come and hey presto I have my linocut.